

JTECH-8×8-H20 (JTD-279) - Set a Static IP Address
- Categories
- Product Guides
- Published
Learn to set up IP settings for your 8x8 HDMI Matrix with simple steps for network configuration.
Changing the default IP of the JTECH-8X8-H20 (JTD-279) HDMI Matrix
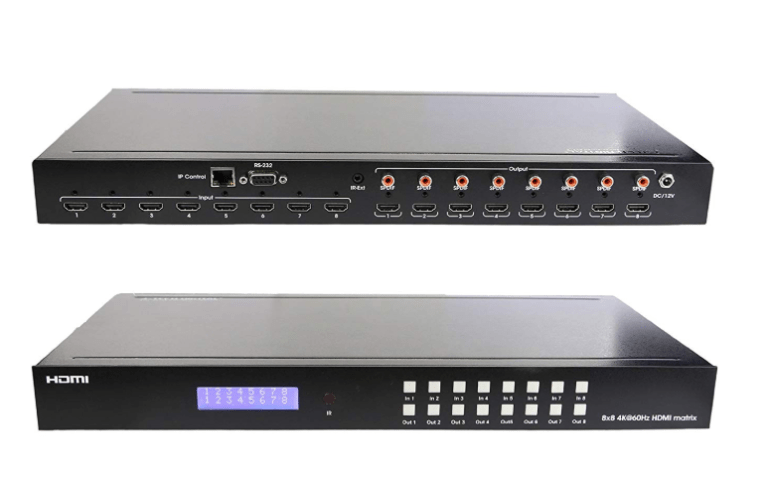
- Connect the power cable to the 8×8 Matrix
- Connect an Ethernet cable (Cat5e/Cat6) to the TCP/IP port of the Matrix and to the port on your PC
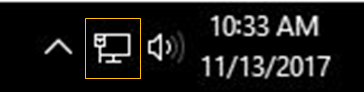
- On your desktop, Right-Click on the Network Icon on the bottom right & click “Open Network and Sharing Center”
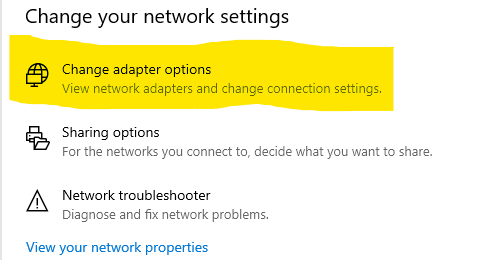
- Click “Change adapter settings”
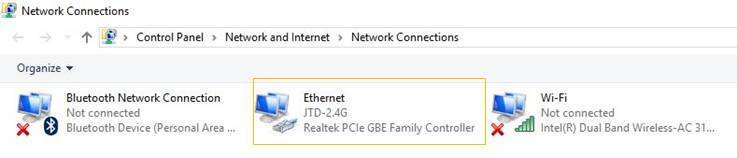
- Double-Click “Ethernet”
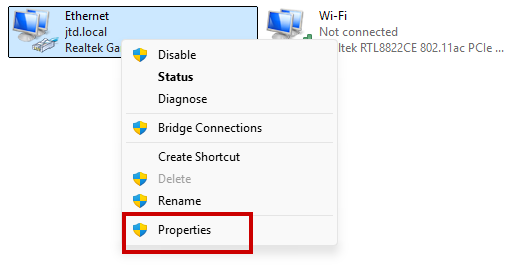
- Click “Properties”
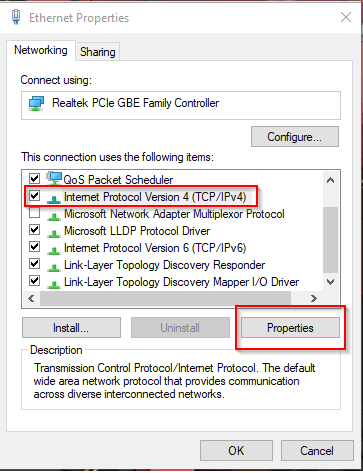
- Click “Internet Protocol Version 4 (TCP/IPv4)” and then click “Properties”
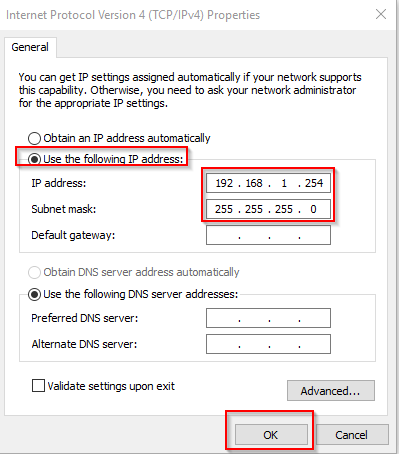
- Change the IP address to 192.168.1.___ (1-254)
- In the “Subnet Mask” field, type “255.255.255.0”. “Default Gateway” can be left blank
- Click “OK” to save your changes and then click “Close” for your changes to take effect
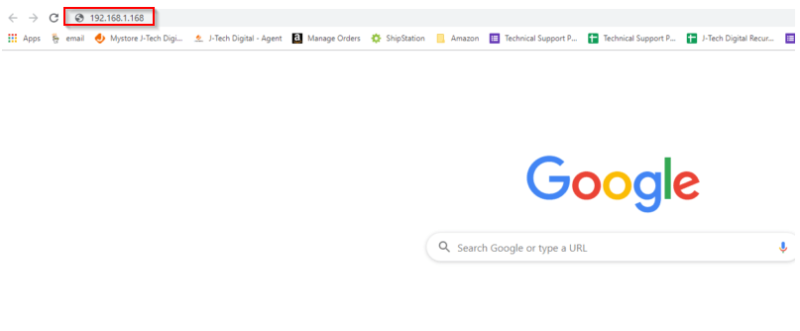
- Open a web browser and type the default IP 192.168.1.1.168 address for the HDMI Matrix

- Click “IP CONFIG”
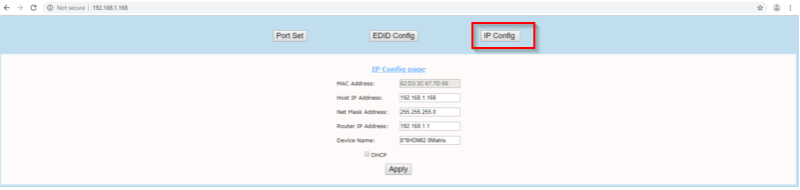
- IP addresses – It is necessary to change the last octet in an address (192.168.1.___)
- To confirm the changes, try accessing the GUI in an internet browser with new IP address
- Finally, make sure to go back to “adapter settings” and change the IP address of your network interface card back to “Obtain an IP address automatically” if your network is using DHCP
Call our team at (888) 610-2818 or email us at sales@jtechdigital.com or support@jtechdigital.com for more information!